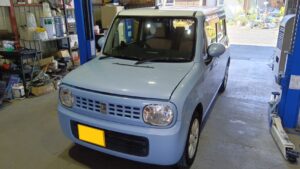
青いウサギ(ラパン)のプーリー交換の作業です。
ベルト調整しても、新品ベルトに交換しても
ベルトが鳴くという事でプーリー交換をしてみる事になりました。
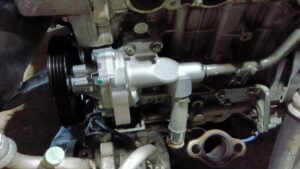
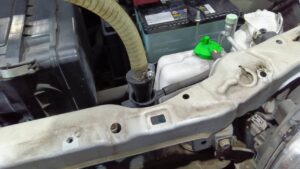
ウォーターポンプを交換しますのでLLC抜きます。
各部作業するのにバンパーも外します。
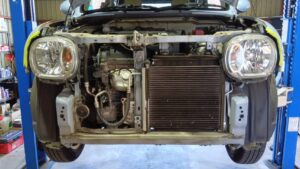
ウォーターポンプ外すのにエキマニを外します。

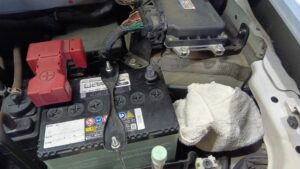
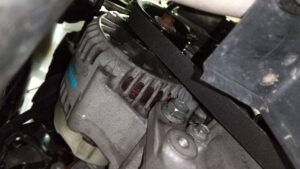
オルターネータープーリーも交換しますのでバッテリーの端子を外して
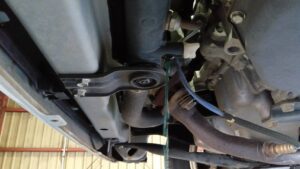
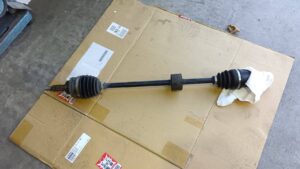
ドライブシャフトを外します。
交換するプーリー達です。
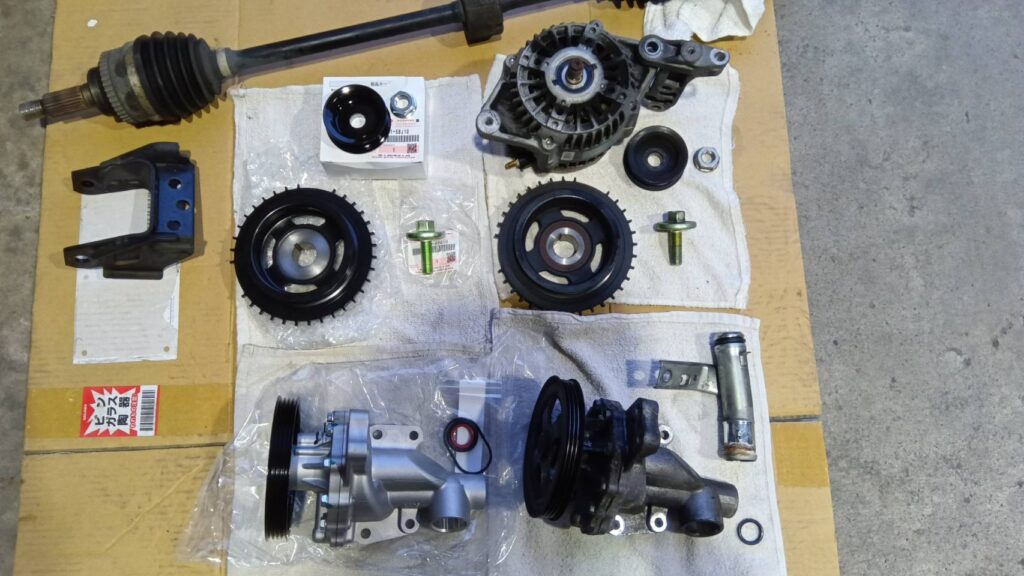
ウォーターポンプ、クランクプーリー新品交換
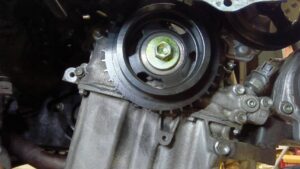
オルタネータープーリーを新品にして
ベルトも新品を取り付け。
ドライブシャフトを戻して、LLC充填。
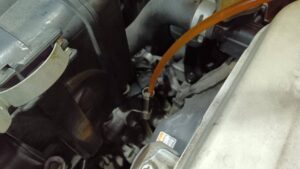
抜けたATF補充します。
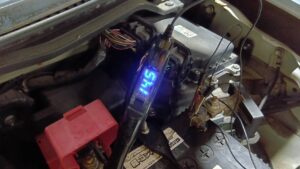
オルタネーターの発電量も問題なかったです。
作業終了。
始動させてベルト鳴きが無い事を確認。
エンジンが冷めた時にエンジン始動してもベルト鳴きが無いので
OKですね。
Posted by H.shirane