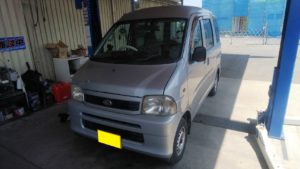
ハイゼットのタイミングベルト交換します。
距離も10万Kmをちょっと過ぎたところですので、
いいタイミングかもしれませんね。
さあ、作業していきましょう!
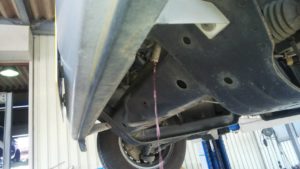
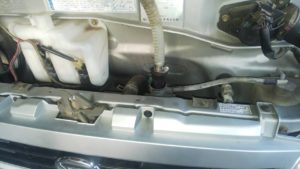
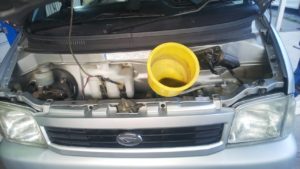
まずはLLCを抜きます。
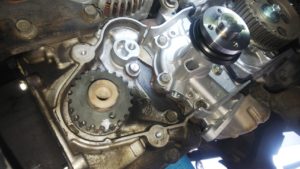
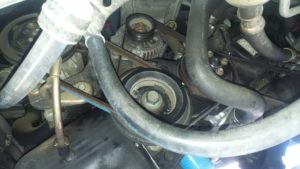
外ベルトを外して、タイミングベルトカバーを外します。

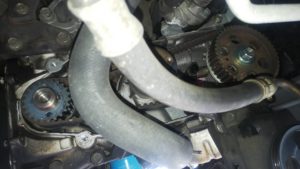
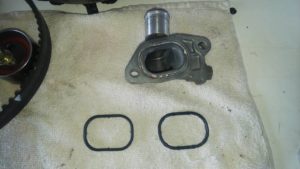
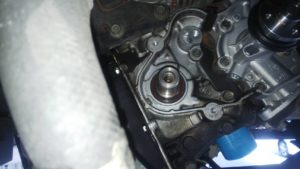
タイミングベルトベルトを外して、ウォーターポンプを外します。
同時交換をしておけば、安心ですね。
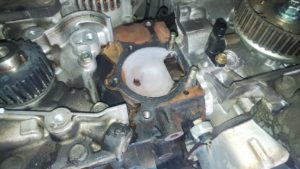
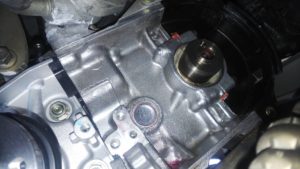
新品のウォーターポンプを取り付けて、
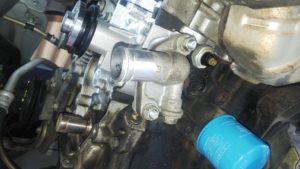
ウォーターハウジングも外しましたので、パッキンを新品にし、
取り付けます。
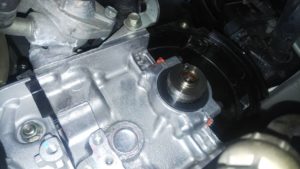
クランクのオイルシールも交換します。
あとで漏れてしまっては、大変ですので。
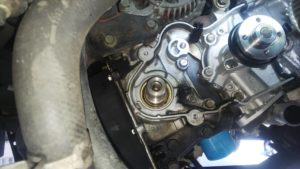
同じく、カムのオイルシールも交換します。
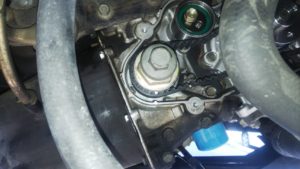
クランクとカムの位置を合わせて、タイミングベルトを取り付け!

最初に外した、外ベルトを元に戻します。
LLCをクーラントチャージャーを使って入れます。
水の量を確認して、作業は完了です。
タイミングベルトが切れてしまってからでは大変なことです。
タイミングベルトを使われてるお車にお乗りのお客様は、
忘れずに交換しましょう。
作業のご依頼お待ちしております。
Posted by H.shirane