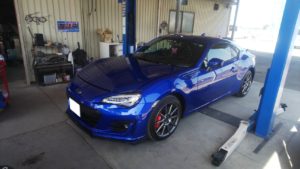
BRZの車高調の取り付けご依頼です。
今月登録の新車です。
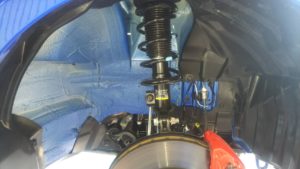
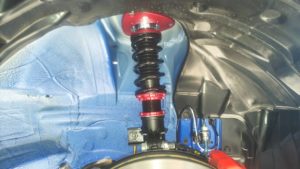
まずは、フロントからいきますか。
アッパーとショック下側のボルトを外して、純正ショックを外します。
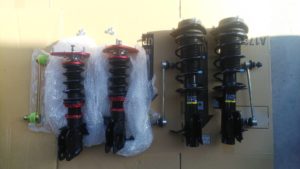
純正と車高調の比較写真です。
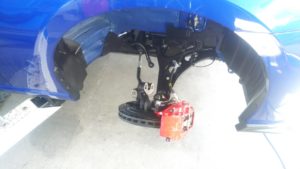
スタビリンクも付属されていますので、こちらも交換しましょう。
スタビリンク、ナックル部、アッパーと取り付けしました。
これでフロントは完成。
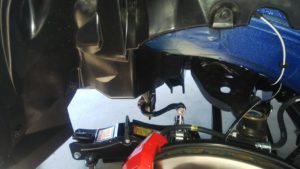
リアはトランクの内張を剥がして作業します。
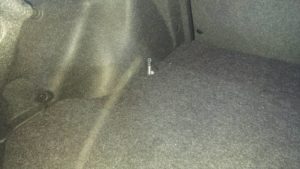
車高調の減衰調整部分が室内に出ますので、内張の一部穴を開けます。
穴を開ける部分にはマスキングで目印を!

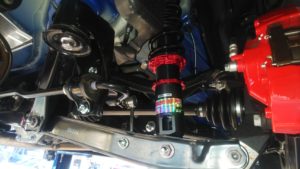
純正ショックを取り外し、車高調を取り付け。
トランク内張を戻します。
減衰調整の部分もきれいに出ましたね。
前後車高調整して作業終了。
取付前と取付後の写真です。

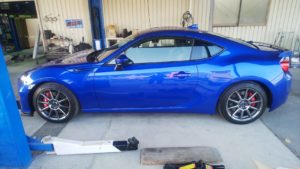
いい感じですね~。
これからドライブが楽しみですね。
こんな部品取り付けて~とかありましたら
ご相談ください。
Posted by H.shirane